Showing posts with label Creative Basic Picnic Quilt. Show all posts

Friday, January 6, 2017

Merry and Bright

Here is a card I forgot to share here lol! Last year actually :P 
 I'm showcasing a fun winter scene with North Woods Stamps and dies along with a few Creative Basic Products.
I had a fun idea to color in some spruce in my trees with artist markers and adding sparkly snow on them using a few products.
I did forget to add my glitter on my picture but pretty much any glitter of your choice works perfectly well.
Just mix in as much as you want to use and using your brush to layer on top were you desire.
In no time you will have trees full of sparkly snow 
I added a few drops of water just so I could bring it to a more thinner consistency because it was very chunky lol!
Lay them down with dimensional glue dots and had me a fun dimensional winter scene with lots of sparkle.
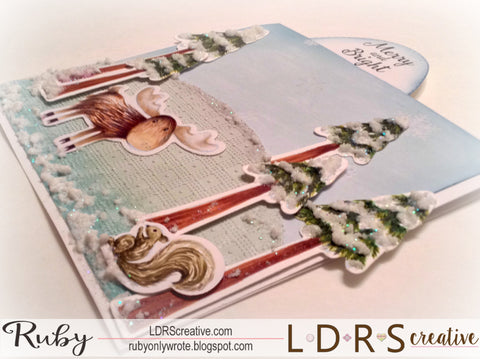
The bottom of my layer was cut out using Creative Basic Cutting Edge Borders I and I used my Creative Basic Picnic Quilt embossing folder for a sweet texture. It even looks like snow right! 
My sentiment comes from the Little Darlings CandiBean Merry Christmas Rubber stamp  kit exclusively at HSN. I used Basic Pierced Ovals to pop it right on top of my card.
The North Woods stamps come with coordinating dies so the ideas are endless in creating a simple sweet project or a full fun scenery card. 
I hope you enjoy my take on these stamps and we'll see you here again soon.
Well better late than never lol!
Your friend

Hello You

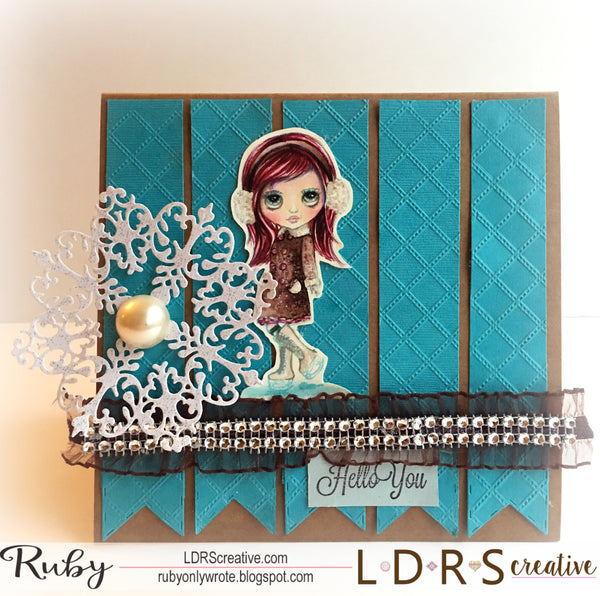
Happy New Year friends! I have the honor to share the first Inspiration post over LDRS Creative  using Chill from DollHouse and with a few LDRS Creative dies for a clean and simple card.


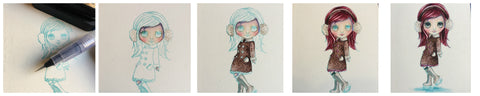
I did a quick picture by picture of my coloring process for Chill 
I watercolored her using Tim Holtz Distress Inks pads and Tombow brush pens and then easily fuzzy cut her out.


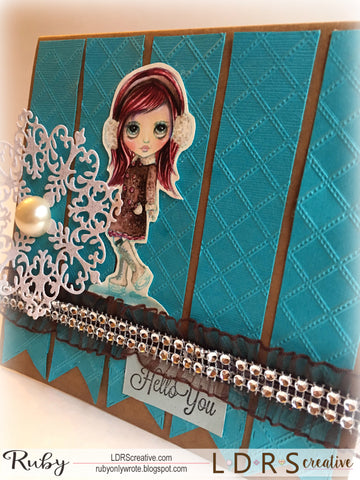
 I kept my card very basic and giving it an extra eye candy using the Creative Basic Picnic Quilt Embossing folder.
I simply cut out some strips after I embossed a sheet and added stitched flags at the bottom of the strips.

 I tucked in a "Hello You "sentiment using the You sentiment collection set.

I hope you enjoy my card and thank you all for stopping by my corner. I'm
looking forward to sharing my crafty bitz here for 2017!

XOXO
Ruby

Wednesday, November 16, 2016

CandiBean Hand Picked For Hedgy

Hello friends yes I'm back with double post,  I'm  also featuring  CandiBean Hand Picked For Hedgy rubber stamp along with some fun LDRS Creative products.


I colored my CandiBean stamp image with Copic  markers and cut it out using the big die from the Creative Basic Fancy Rectangles & Layers. I simply mounted my image on a brown base paper using the beautiful elegant embossing folder Picnic Quilt.


I used the Summer Garden sentiment set which reads, "I imagined what my soul would look like and all I saw were flowers"
I about melted when I read this! Goes just perfect with my stamp image.


I thank you for stopping by my corner and hopefully you enjoyed my inspiration for today.
Have a lovely day


Nesting DollHouse Gatefold card

Hello friends double post today!

 We're going to start with  DollHouse Nesting Rubber stamp and Various beautiful LDRS Dies!


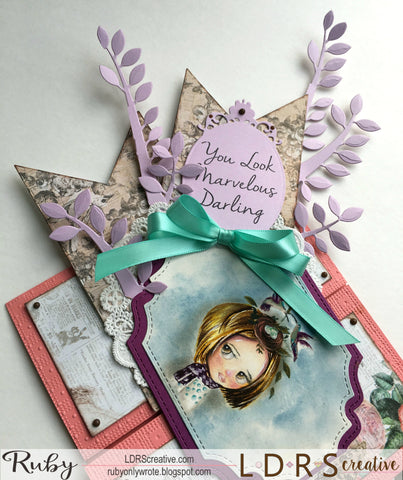
I started my process by coloring DollHouse Nesting with watercoloring markers and then cut her out using one of the large dies from the Creative Basics Fancy Rectangles &  Layers.


The Gate Fold card was my base and used my Creative Basic Picnic Quilt Embossing folders to give my doors some pretty texture.
I stamped You look Marvelous from the Uptown Sayings sentiment collection set on a Gilded Oval die cut. I then added pretty brown crystal drops to the top of the tag.
I like how you could play around with the dies and take them apart however you like.
Just like this Peaceful Dove Edge die.
I took the branches apart from the Doves then easily insert them to decorate around my my stitched flag cuts.


I added this pretty mint bow to finish it off and that was it.
I hope you enjoy this watercolored make an you could find all the products linked down below.

Look out for my next post in a bit :) 

Ruby 
LDRS Creative store Products used

Tuesday, October 18, 2016

DollHouse Chilly Daze

Welcome all I have an LDRS Creative Inspiration post featuring a NEW DollHouse Rubber stamp Chilly Daze and a few LDRS Creative Dies!


I colored DollHouse Chilly Daze with watercoloring Tombow markers , Prima watercoloring pencils and TimHoltz Distress Ink pads. I get asked what are my go to mediums and I actually like to pull various brands and I have even pulled out my copics to color on watercoloring paper which I don't do often but it's ok I have plenty of refills :)
 I say that because sometimes watercoloring paper could suck in your ink and you tend to lay more to get to your desire depth.


I used the Best Friends sentiment collection set and simply tucked it in right next to her.
I took some gear die cuts and trimmed the corners in my card using the
Key tailed Dragonfly die set. 


I then cut her using Fancy Rectangles & Layers die. I used the bigger size up to cut a pretty border to surround her. I also cut some tags to create a border in the center with the same set.
My favorite piece is that GORGEOUS picnic quilt embossing pattern in the background.
Just puts everything together.


 I hope you like my creation. This one will be displayed at CHA 2017 show for LDRS Creative. 
Thanks fro swinging by love
Rubes